Install RouterOS in a virtual machine and connect it to CONTROL
Overview
This guide walks you through installing RouterOS in a VirtualBox virtual machine and connecting it to CONTROL using the TR-069 protocol.
Prerequisites
- VirtualBox installed on your system
- Internet connection to download RouterOS files
- Basic familiarity with virtual machine management
Step 1: Download RouterOS
Visit the MikroTik download page and download the following files:
- RouterOS 6.48.6 Long-term x86 ISO image
- Extra packages (contains the TR-069 package)

Step 2: Create the Virtual Machine
Configure VM Settings
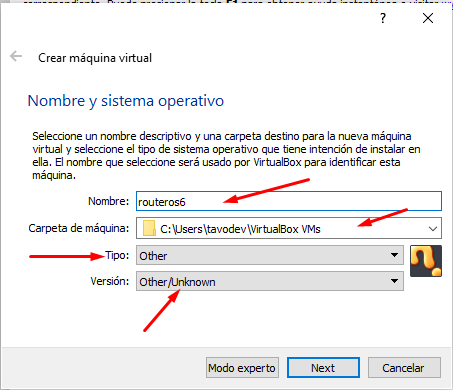
- Open VirtualBox and create a new virtual machine
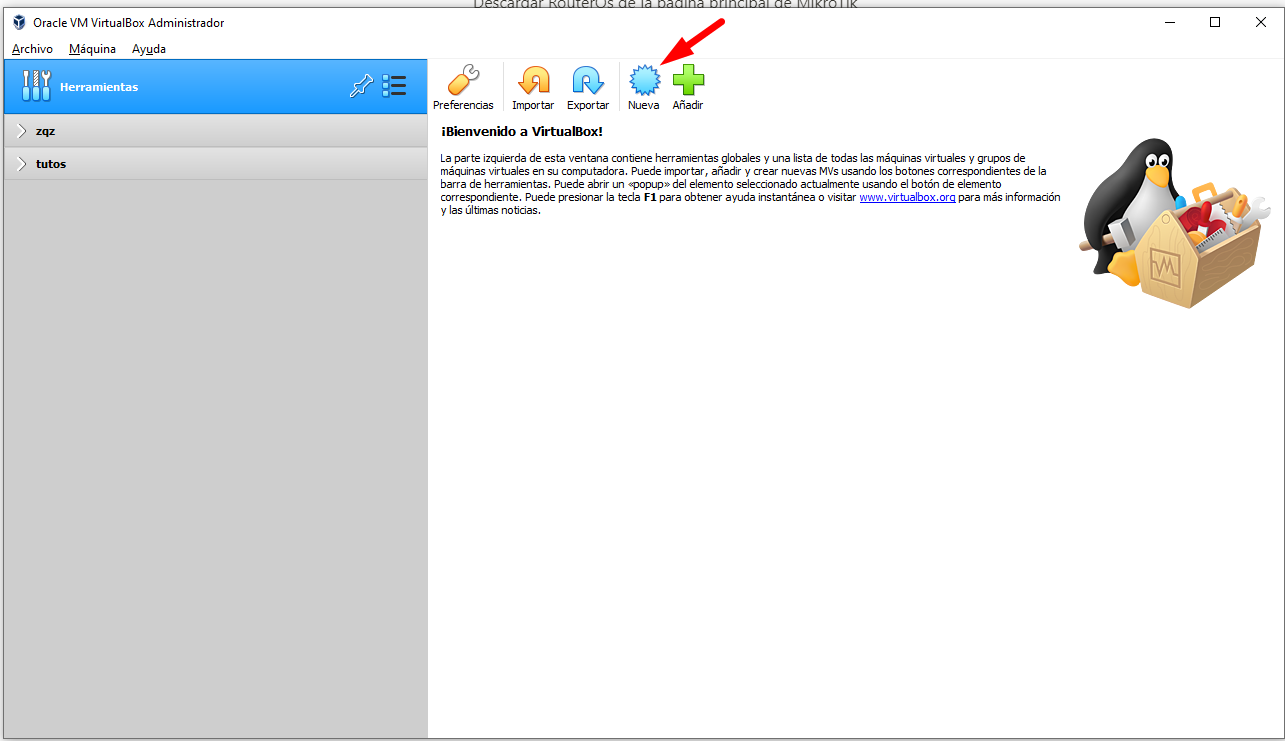
- Enter the required information as shown below
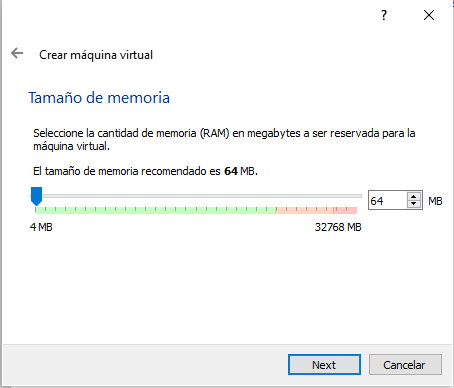
- Allocate RAM memory (64 MB is sufficient for RouterOS)
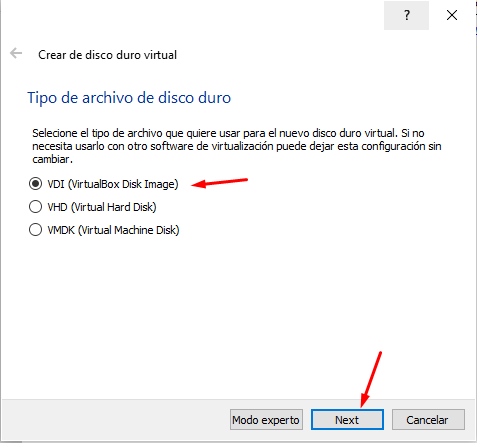
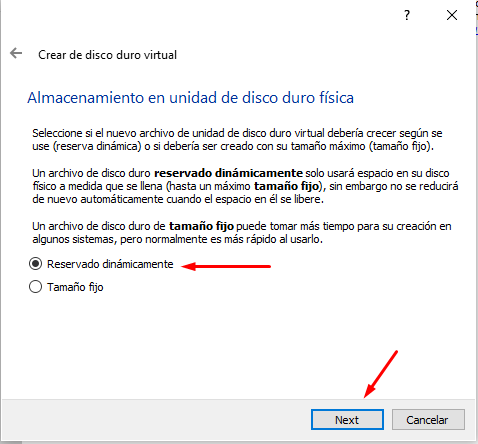
- Create a virtual hard disk with the following settings:


Configure Network Adapters
- After the VM is created, add an additional network adapter in the VM settings

- The network configuration should look like this:

Step 3: Install RouterOS
Boot and Installation
- Start the virtual machine

- Select the RouterOS ISO image and boot the VM

- When the package selection screen appears, press A to select all packages


- Press I to start the installation and confirm when prompted

- After installation completes, unmount the ISO image to prevent the installation wizard from restarting

Step 4: Initial Configuration
Login to RouterOS
- Once the login screen appears, use the default credentials:
-
Username:
admin - Password: (leave blank)
-
Username:

Assign IP Address
- Add an IP address to enable remote access. For this example, we'll use
192.168.1.50:
ip address add address=192.168.1.50/24 interface=ether1

- Verify the IP address was added correctly:
ip address print

Access Web Interface
- Open a web browser and navigate to the RouterOS web interface using the IP address you configured:
http://192.168.1.50/webfig/

- Click on WebFig to access the full configuration interface

Step 5: Install TR-069 Package

- Extract the downloaded Extra packages archive and locate the TR-069 package file


- Reboot the router to complete the package installation

- After reboot, verify that TR-069 is enabled in the system

Step 6: Obtain RouterOS License
RouterOS displays a warning message indicating you have 24 hours to use the software without a license. You must register to obtain a free demo license.
Save Software ID
- Note the Software ID displayed in the license warning message

Generate License Key
-
Register for a MikroTik account at the registration page
-
After logging in, navigate to MAKE A DEMO KEY, enter your Software ID, and generate the license


Activate License
- Connect to RouterOS via SSH

- Paste the license key in the terminal and reboot to complete activation

- After reboot, a confirmation message indicates the license was successfully activated
[![License activated](https://docs.zequenze.com/uploads/images/gallery/2022-02/scaled-1680-/kxs0BYgcbsxaeEkM-image-1645825
No comments to display
No comments to display