Testing FCM Push Notification service
Overview
To test Firebase Cloud Messaging (FCM) push notifications in GATE, you'll need two essential components:
- Firebase API Key (obtainable from the FCM console)
- Device registration IDs where notifications will be sent
This guide walks you through the complete testing process within GATE's interface.
Prerequisites
Before beginning, ensure you have:
- Valid Firebase API key from your FCM console
- Target device registration IDs for testing
- Administrative access to GATE's Settings menu
Step-by-Step Testing Process
Step 1: Access Push Notification Service
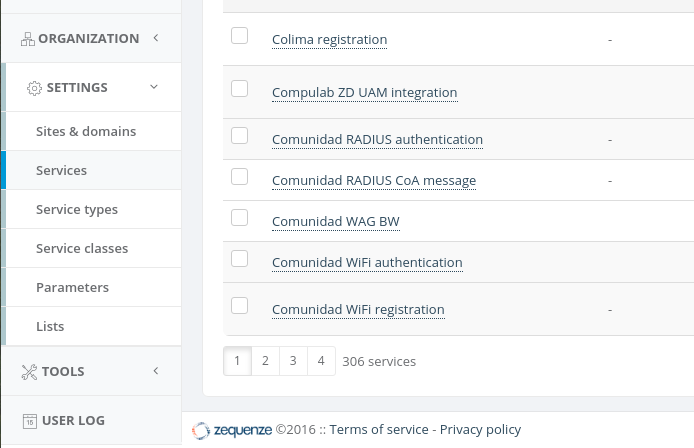
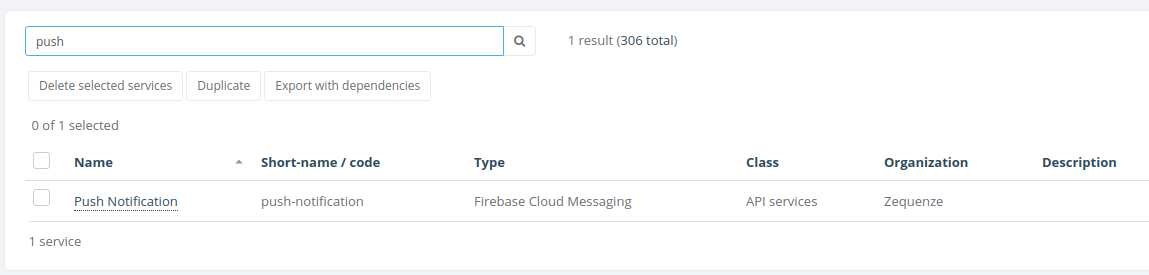
- Search for
pushin the services list - Click on Push notification
Step 2: Configure API Key
- On the Push Notification Service screen, enter your Firebase API key
- Click the Save and continue editing button to save your configuration

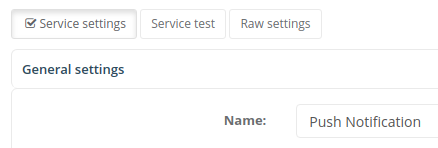
Step 3: Access Service Test Interface
Click on the Service test tab at the top of the Push Notification Service screen to access the testing interface.
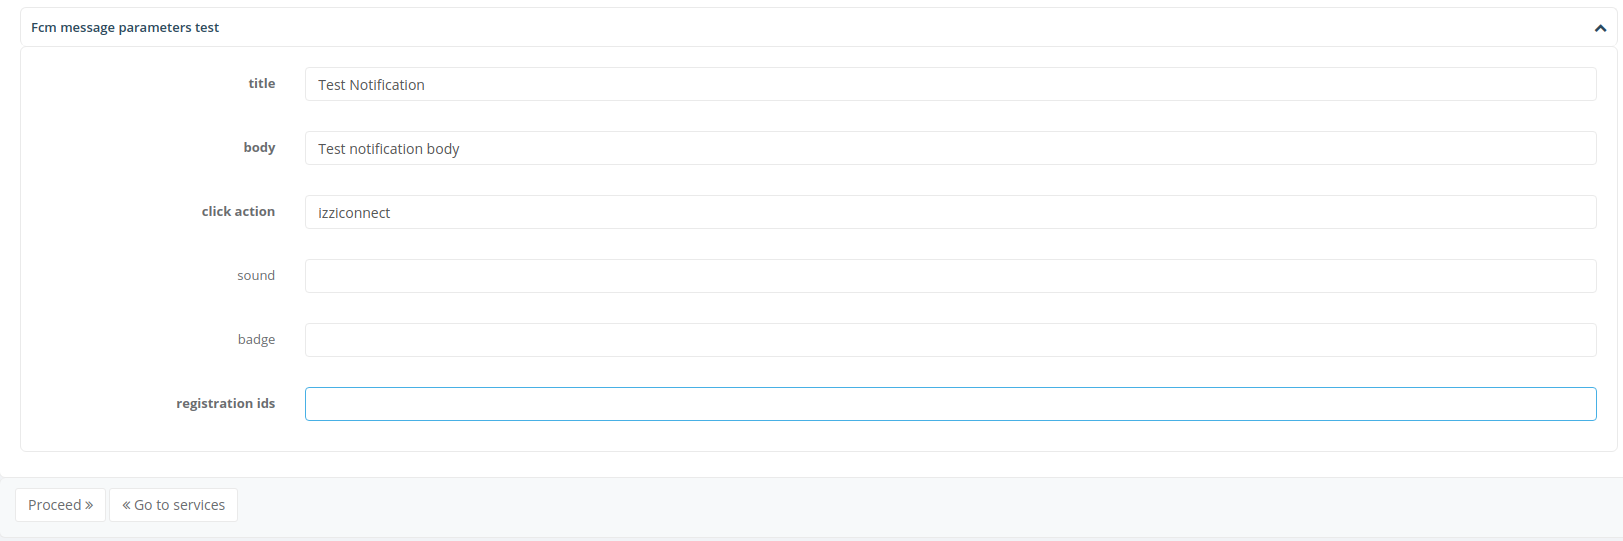
Step 4: Configure Test Notification
Fill in the following required fields:
- Title: The notification headline
- Body: The main notification message
- Click action: Action to perform when notification is tapped
- Registration IDs: Target device registration IDs
Once all fields are completed, click the Proceed button to send the test notification.
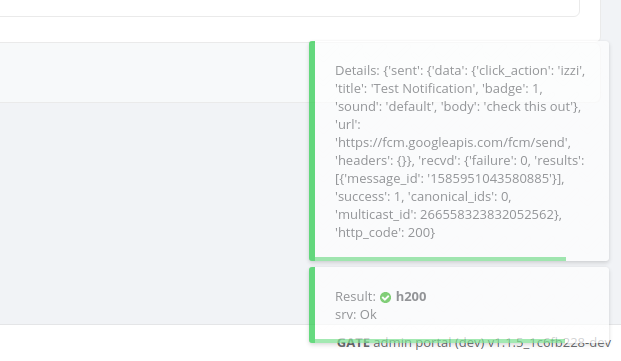
Step 5: Verify Results
If everything went ok and the test is successful:
- Results will be shown on the lower right corner of the interface
- The notification should be delivered to the specified device(s)
Troubleshooting
If notifications fail to deliver, verify:
- API key is correctly entered and valid
- Registration IDs are current and properly formatted
- Device connectivity and FCM service availability
No comments to display
No comments to display