Exporting and Importing data
There are two ways for exporting data from and to zequenze platforms:
- Export/ Import with dependencies
- Export/ Import with no dependencies
The main difference between both is that the former will export data with all its dependencies, for example, if you want to export a Page object, it will be exported with its connection_profile, main_template, registration_service, campaign, etc.
The latter one will only import only the object you're trying to export, so to import the exported object on another platform it is a requirement to have all the dependencies already created
Below you can find some examples:
Export with no dependencies:
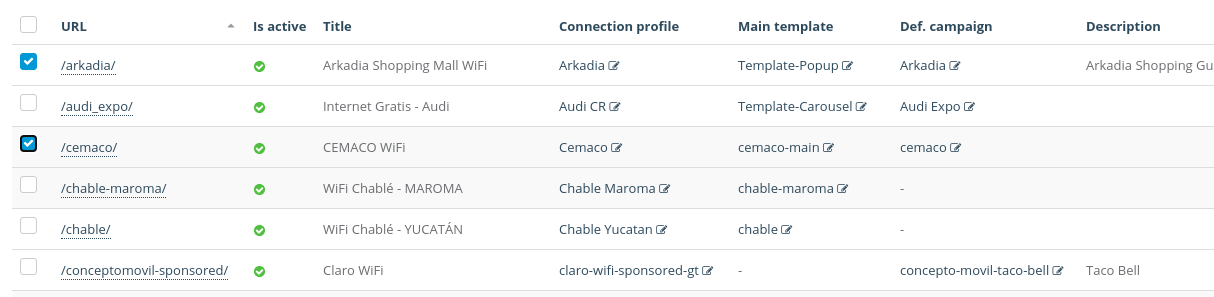
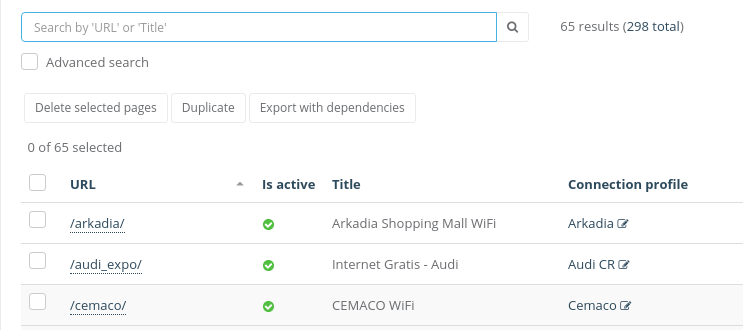
First, you must select the elements you want to export
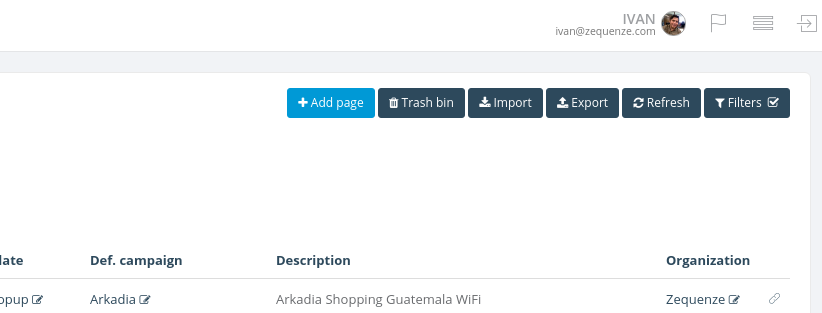
Once selected, click on the Export button located on the top right corner of the model principal view
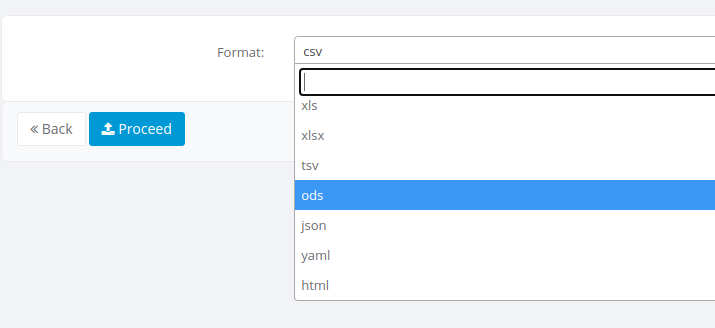
An export screen will be shown where you can select the type of file to be exported, select the desired type and hit the Proceed button
Finally, you'll get your file downloaded

Import with no dependencies:
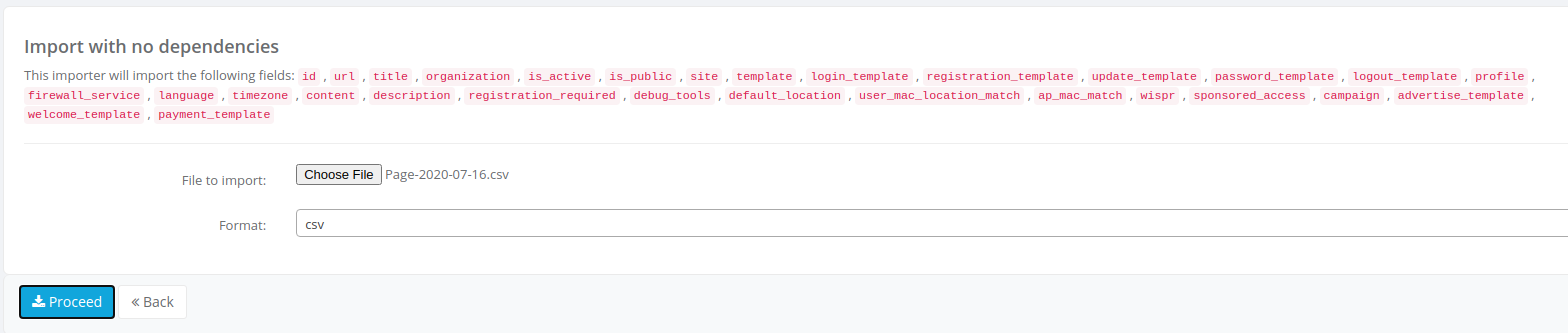
Export with dependencies:
When a model can be exported with dependencies, Export with dependencies button will be available under the search bar
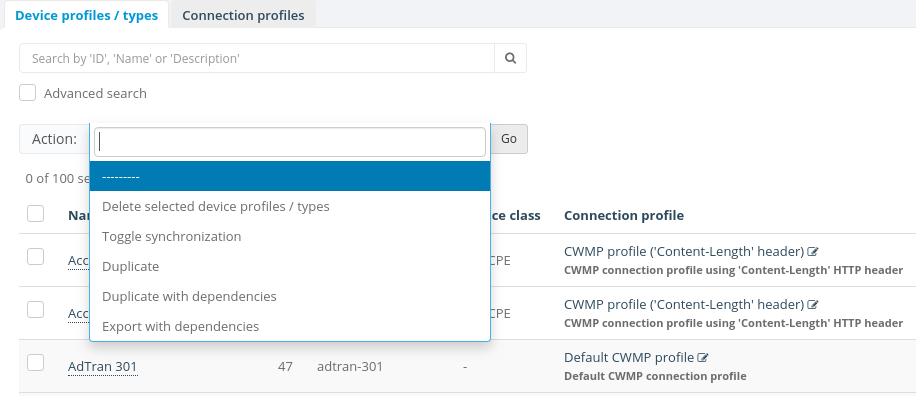
Sometimes the Export with dependencies button will inside the action menu under the search bar
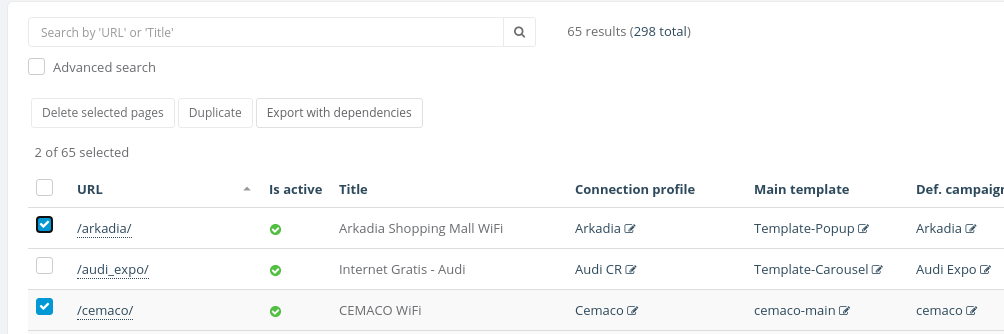
To start the process you can easily select the objects you want to export and click Export with dependencies button, for this example will be used a Page object
Finally, you will see a .json file downloaded into your computer
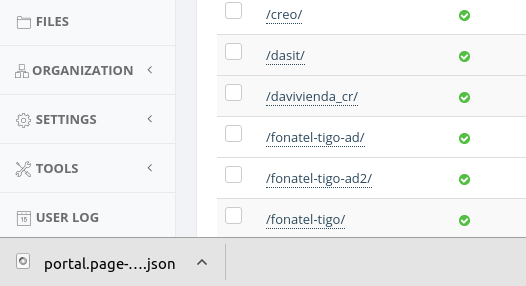
It's important to notice that this JSON file will be used when we want to import with dependencies
Import with dependencies
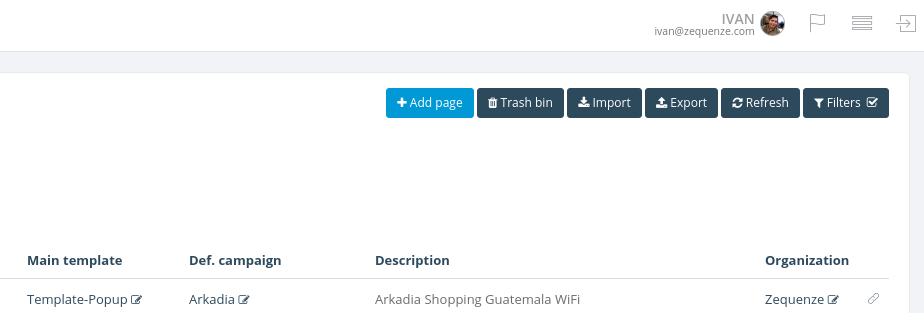
To begin the process of import with dependencies you should click on Import button located in the top right corner of the model principal view
You will see the Import with dependencies form
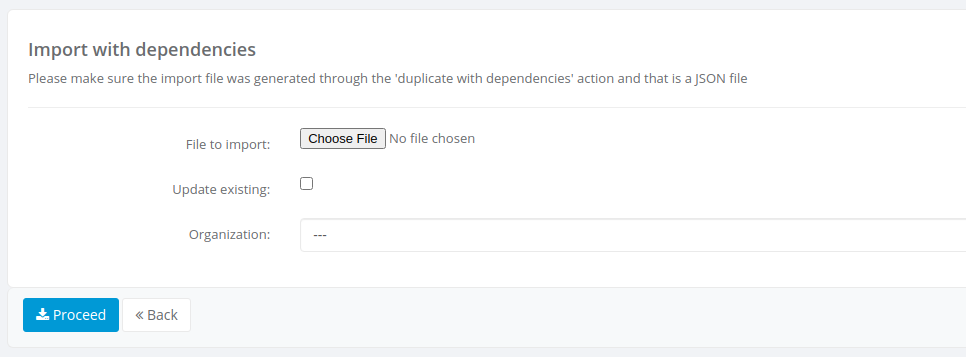
Here you must select the JSON file and the organization on which you want the object(s) to be created, the Update existing checkbox is used when the objects exist already on the organization you're trying to import. When checked the platform will try to update the existing objects and if those don't exist they will be created.
Note: make sure the .json file is one generated by an export with dependencies process
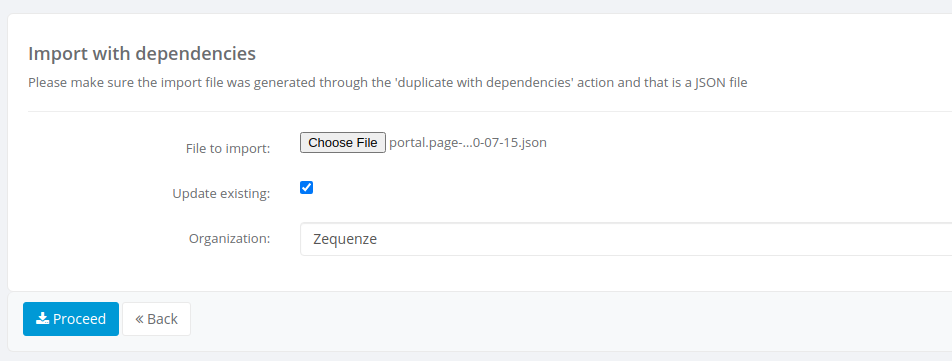
Once selected the .json file, the organization and either checked or not updating existing, you must click on Proceed button
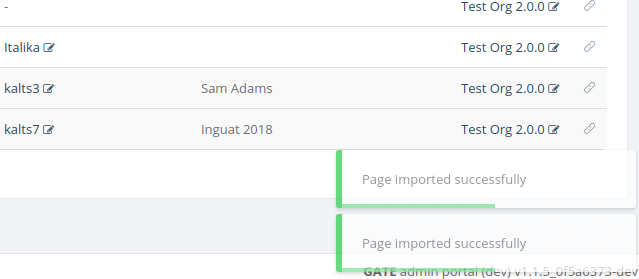
After the process completed successfully you will see a success message on the bottom right corner on the model principal view